The pull-up is arguably the king of all upper-body exercises. It’s a pure test of strength, a challenging move that utilizes your entire back, core, and arms. If you’re a beginner, however, it can feel like climbing Mount Everest. You stand under the bar, jump up, and… nothing happens. That overwhelming feeling of being unable to lift your own body weight is the single biggest barrier to starting your home fitness journey.
But what if the goal wasn’t the pull-up itself, but simply starting? What if you had a tool designed to meet you exactly where you are, no matter your current strength level, and guide you step-by-step to achieving that coveted first repetition? That tool is the BULLBAR 2.0 Portable Pull-Up Bar. Designed for convenience and versatility, the **BULLBAR** is the premier destination for fitness enthusiasts looking to elevate their workout routines, especially those just starting out.
This comprehensive guide is dedicated to the beginner. We’ll show you exactly how to use the **BULLBAR for beginners** by breaking down the pull-up into three manageable, essential progression exercises. Before you know it, that seemingly impossible movement will be a regular part of your **bodyweight exercises at home**.
Beginner’s Guide to the BULLBAR: Start Your Fitness Journey
The BULLBAR: Your First Step to Upper Body Strength
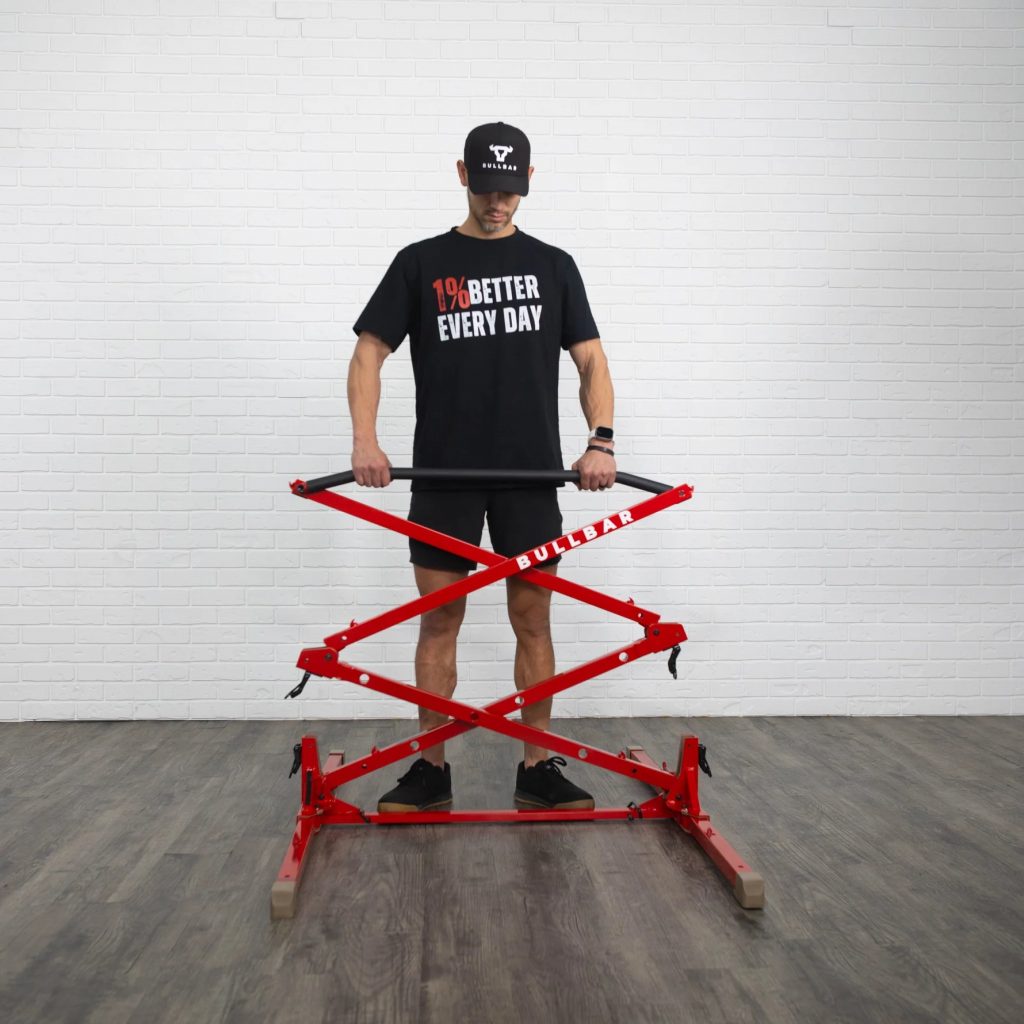
Why start your pull-up journey with the **BULLBAR**? Simple: the traditional door-frame bar only allows for one movement. The **BULLBAR 2.0** is an innovative piece of equipment that maximizes safety, portability, and versatility. It’s not just a pull-up bar; it’s an entire upper-body gym that lets you adjust the leverage, angle, and height, which is essential for following a smart progression plan.
What Makes the BULLBAR 2.0 the Ultimate Home Fitness Tool?
- Portability & Convenience: Its design means you can easily move it and set it up almost anywhere, allowing you to exercise anytime, anywhere. No more missing workouts because you can’t get to the gym.
- Safety & Durability: The focus on top-notch, durable construction means you can trust it to support you, giving you the confidence needed when you are challenging your limits.
- Versatility for Progression: This is key for beginners. The ability to use it low on the door for inverted rows or high for assisted pull-ups makes it a true all-in-one system for **home fitness for beginners**.
Before you invest in your journey, don’t forget to check out how you can **save on your portable pull-up bar** by visiting our dedicated coupon page and grabbing an exclusive BULLBAR promo code!
Mastering the Foundation: How to Use the BULLBAR for Beginners
The secret to achieving your **first pull-up training** goal is understanding that the pull-up is not a single exercise, but the culmination of three core strength elements: pulling strength, eccentric (lowering) strength, and endurance. Here are the three key progression exercises you will master with your **BULLBAR**.
Exercise 1: Inverted Rows – The Best Place to Start
Inverted Rows, sometimes called Australian Pull-Ups, are the single most effective way to start building the foundational pulling strength required for a full pull-up. This exercise uses only a fraction of your body weight and allows you to practice the exact movement pattern of the pull-up but horizontally, making it one of the easiest **easy BULLBAR exercises**.
Setup with the BULLBAR 2.0:
- Install the **BULLBAR 2.0** low in a doorway, or place it on the floor between two stable points if possible (refer to the **BULLBAR 2.0 setup** instructions for low positioning).
- Lie on your back underneath the bar, gripping it with your hands shoulder-width apart.
- The closer your body is to vertical (standing), the easier it is. The closer your body is to horizontal, the harder the exercise becomes, allowing for constant progression.
Execution: Pull your chest up to the bar, ensuring your body stays in a straight line from your head to your heels (engage your core!). Slowly lower yourself back down. Aim for 3 sets of 10-15 repetitions.
Exercise 2: Negative Pull-Ups – Building Eccentric Strength
Once you can comfortably perform 3 sets of 15 Inverted Rows, you’re ready to move on to the next critical step: the Negative Pull-Up. Eccentric strength (the strength gained while lowering a weight) is much easier to develop than concentric (the pulling up part) strength. By focusing only on the lowering motion, you rapidly build the muscle fibers needed for the pull-up.
The Key to Negatives: To perform a Negative, you simply need to get to the top of the pull-up position. Use a sturdy chair or jump up to the bar so your chin is *above* the **BULLBAR**. The exercise begins the moment your feet leave the chair.
Execution: From the top position, lower your body as slowly as possible—aim for a count of 5 to 8 seconds. This slow, controlled descent is where the magic happens and where you effectively **build upper body strength**. Once you reach the bottom, step off the chair and reset. Aim for 3 sets of 5-8 repetitions.
Exercise 3: Assisted Pull-Ups – Bridging the Gap
This is the final hurdle before your **first pull-up on BULLBAR**! Assisted pull-ups reduce the amount of body weight you need to lift, making the full movement possible. The **BULLBAR** excels here because its sturdy design allows for reliable assistance.
How to Use Assistance:
- Resistance Band: Loop a sturdy resistance band over the **BULLBAR** and place your knees or feet inside the loop. The band will provide upward assistance, making the pull-up lighter. As you get stronger, use a thinner band.
- Chair/Feet Assistance: Position a chair in front of the bar. Use just one foot on the chair to give yourself a slight push at the bottom of the movement, reducing the load by 10-20%. As your strength improves, reduce the pressure you place on your foot until you don’t need the chair at all!
Execution: Perform the full range of motion (pulling up and lowering down) with the assistance. Focus on 3 sets of 8-10 reps. This teaches your body the full pattern of motion.
Essential Preparation: BULLBAR 2.0 Setup and Safety
Anytime you are performing **bodyweight exercises at home**, safety is paramount. The strength and durability of the **BULLBAR** are a key selling point, but proper installation is crucial for maximizing performance and avoiding injury. Always follow the manufacturer’s instructions carefully to ensure the bar is securely mounted in the doorframe. If you’re a beginner, perform a “weight check” by hanging off the bar with bent knees for a few seconds before fully committing your weight.
Optimizing Your Grip for a Stronger Pull
A weak grip is often the first thing to fail. Your primary grip for pull-ups will be the overhand, palms-forward position. The wider the grip, the harder the exercise is. Start with a shoulder-width grip, as this is the best balance of leverage and muscle activation for a beginner. The **BULLBAR**’s design typically offers multiple grip positions, allowing you to easily switch between a neutral grip (palms facing each other), which is slightly easier, and the traditional overhand grip.
Beyond the Pull-Up: Easy BULLBAR Exercises for Total Body
The **BULLBAR** is more than just a tool for pulling. Its design allows it to be removed and used on the ground for other challenging **home fitness for beginners** exercises, ensuring you **build upper body strength** in a balanced way.
- Push-Ups: Placing the bar on the floor provides handles for push-ups, which takes stress off your wrists and allows for a deeper range of motion, building chest, shoulder, and tricep strength.
- Dips: Using the **BULLBAR** in a doorway allows for dips (feet assisted on the floor), which target your triceps and lower chest—the perfect complement to all that pulling.
- Core Work: Hanging Knee Raises (if the bar is installed high) or Floor L-Sits (using the bar on the ground as handles) are excellent for core stability.
The Ultimate Progression Plan for Your First Rep
Consistency is your greatest tool. Follow this simple plan to make sure you achieve your goal:
- **Weeks 1-4 (Foundational):** Focus primarily on Inverted Rows (3-4 times per week) until you can perform 3 sets of 15 repetitions with a challenging angle.
- **Weeks 5-8 (Eccentric Power):** Shift focus to Negative Pull-Ups (3 times per week). Aim for 3 sets of 5 repetitions with an 8-second lowering count. Supplement with Inverted Rows.
- **Weeks 9+ (Full Movement):** Introduce Assisted Pull-Ups (3 times per week). Start with your thickest resistance band and begin working towards the thinnest band, or reduce your use of the chair/foot assist. Test yourself for a full, unassisted pull-up once every two weeks.
This systematic approach, utilizing the versatile **BULLBAR**, turns the daunting task of a pull-up into a rewarding, step-by-step journey.
Score the Best Deals: BULLBAR Promo Code and Savings
Your fitness journey starts with the right equipment, and we want to make sure you get the best value on your purchase. **BULLBAR** is committed to providing top-notch products that are both durable and effective, and you can achieve even greater savings.
**Ready to get your first pull-up? Start your training with the BULLBAR 2.0 today!**Shop BULLBAR Products NowUnlock Your BULLBAR Promo Code Here
Don’t forget to check out general deals on equipment and fitness gear on Amazon as well, which can complement your new training routine. Whether you’re aiming for that first rep or scaling up to 20, the **BULLBAR** is the tool that will grow with you every step of the way.