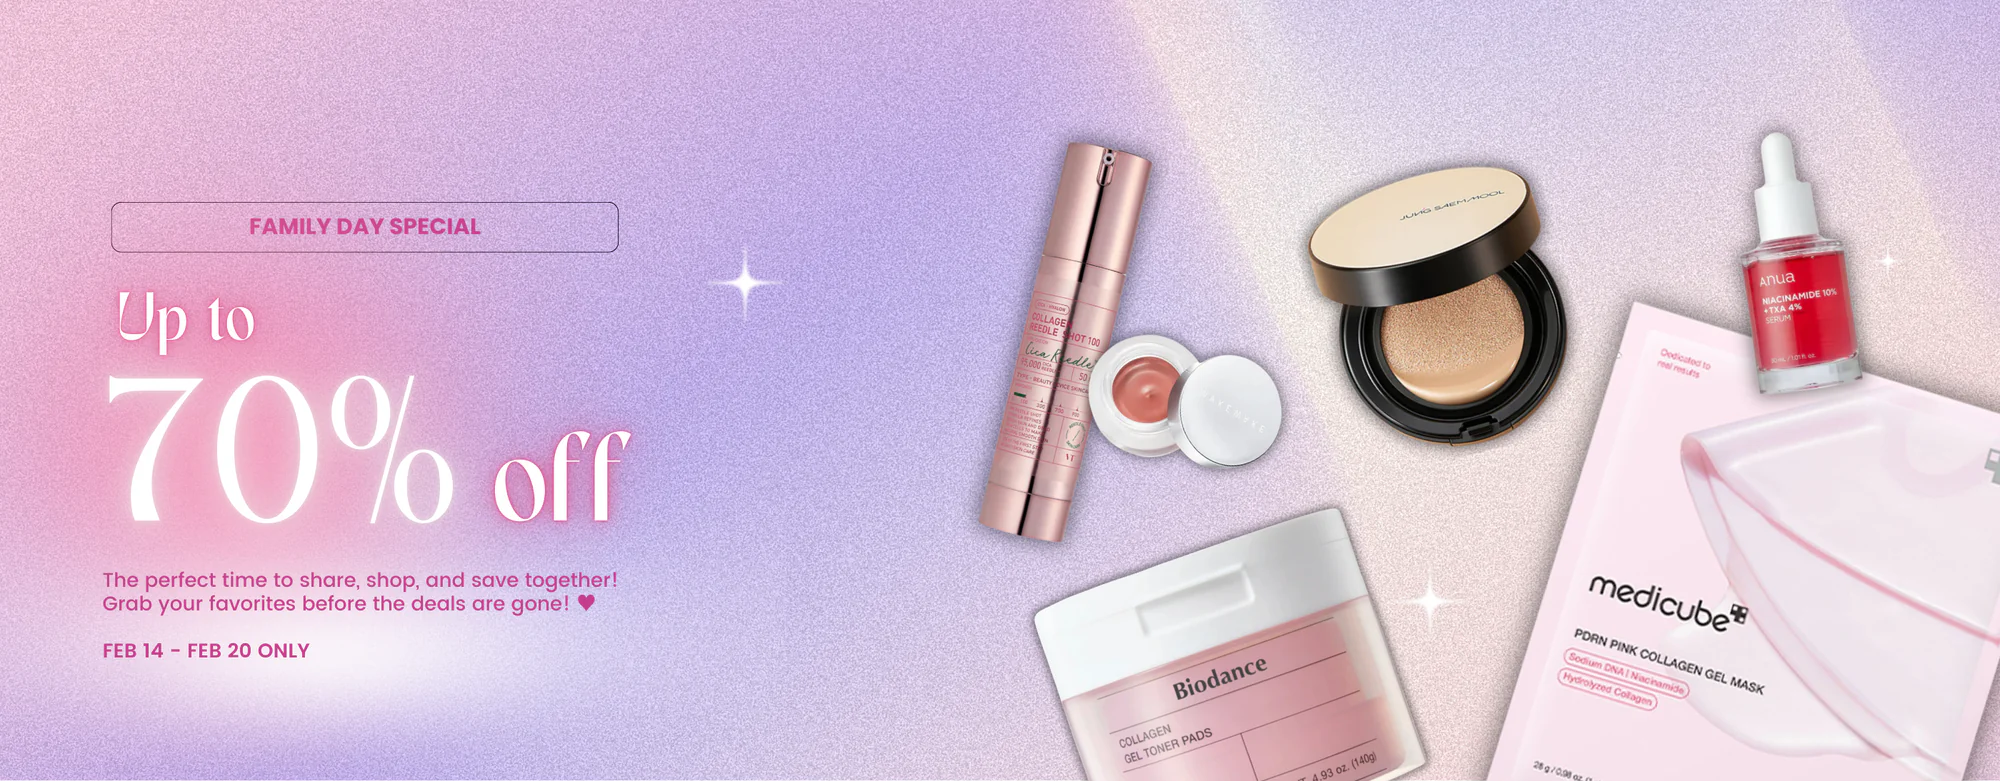
Let’s Resin: Your Beginner’s Guide to Stunning DIY Resin Art
Have you ever scrolled through social media and stopped dead in your tracks, mesmerized by a glistening piece of art that looks like captured galaxies, frozen oceans, or flowers suspended in crystal? That magical material is epoxy resin, and it has taken the crafting world by storm. It looks complex and professional, something that only seasoned artists could master. But what if I told you that you, yes you, could create those same stunning pieces right from your kitchen table? Welcome to the vibrant world of DIY resin art with Let’s Resin! It’s a hobby that’s part science, part art, and 100% addictive. The joy of mixing colors, pouring the glossy liquid, and revealing a finished, rock-hard, beautiful object is unparalleled. Whether you dream of crafting unique jewelry, personalized gifts, or custom home decor, you’ve come to the right place. This guide is your friendly first step, designed to demystify the process and show you how to get started with the best tools for the job. We’re going to walk you through everything, and by the end, you’ll be ready to unleash your inner artist with Let’s Resin.
What is Epoxy Resin and Why is Everyone Obsessed?
At its core, epoxy resin is a two-part liquid system: a resin and a hardener. When these two components are mixed together in a precise ratio, a chemical reaction begins. This reaction, called curing, transforms the liquid mixture into a solid, durable, and glossy plastic. Think of it like a high-tech, artistic version of baking a cake—you mix your wet ingredients, and over time, they set into something solid and wonderful.
So, why the obsession?
- Incredible Versatility: You can do almost anything with it. Create delicate earrings, sturdy coasters, decorative trays, paperweights, keychains, and even “geode” wall art. You can pour it into molds, over paintings, or onto furniture.
- Stunning Finish: The high-gloss, crystal-clear finish of cured resin is simply breathtaking. It makes colors pop and gives every piece a professional, polished look.
- Creative Freedom: You can embed almost anything (that’s completely dry) into resin: glitter, dried flowers, beads, photos, insects, gold leaf, and more. You can also color it with an endless spectrum of pigments, inks, and mica powders to create unique patterns and effects.
It’s this combination of scientific process and boundless creativity that makes it such a rewarding hobby for beginners and experts alike.
Getting Started the Easy Way with a Let’sResin Starter Kit
Diving into a new hobby can feel overwhelming. What supplies do you need? Which brands are good? How much should you buy? The initial research can be so intimidating it stops you before you even start.
This is where Let’s Resin shines. They’ve designed their products specifically with beginners in mind, taking all the guesswork out of the equation. Instead of hunting down a dozen different items from various stores, you can get everything you need in one convenient, high-quality package. We wholeheartedly recommend starting your journey with the all-in-one Let’s Resin Starter Kit. It’s the perfect, non-intimidating entry point into the world of resin casting and contains everything you need for your first few projects. Plus, when you decide to buy, check out the fantastic deals available on our ProdyNest coupon page to make your new hobby even more affordable!
What’s Inside a Beginner-Friendly Resin Kit?
Opening a Let’s Resin kit feels like Christmas morning for a crafter. While contents can vary slightly, a typical beginner’s kit will include:
- Epoxy Resin & Hardener: The stars of the show! Let’s Resin provides a crystal-clear, low-odor formula that is perfect for beginners.
- Measuring Cups: Usually silicone and reusable, these are essential for measuring your resin and hardener accurately.
- Mixing Sticks: For stirring your mixture thoroughly.
- Gloves & Safety Gear: To keep your hands clean and protected. Safety first!
- A Selection of Molds: You’ll often get a variety of beginner-friendly silicone molds, like coaster shapes, jewelry pendants, or keychain letters.
- Colorants & Add-ins: This is the fun part! Most kits come with a beautiful array of mica powders, liquid pigments, and glitters so you can start creating colorful pieces right away.
Having all these art supplies for beginners in one place means you can unbox your kit and start creating within minutes.
Your First Epoxy Resin Project: A Step-by-Step Guide
Ready to make some magic? Let’s walk through the process together. It’s easier than you think!
Step 1: Prepare Your Workspace & Safety First!
Before you pour anything, set yourself up for success. Cover your work surface with a silicone mat or plastic sheeting to catch any drips. Work in a well-ventilated area. Put on your nitrile gloves—resin is very sticky, and you don’t want it on your skin.
Step 2: Measure Your Let’s Resin Epoxy
This is the most critical step. Most epoxy resin for beginners, including the formula from Let’s Resin, uses a simple 1:1 ratio by volume. This means you need to measure out equal amounts of Part A (resin) and Part B (hardener). Use your measuring cups to be precise. Getting this ratio wrong is the #1 cause of sticky, uncured projects, so take your time!
Step 3: Mix, Mix, Mix!
Pour both parts into a single mixing cup. Now, stir slowly and deliberately for 3-5 minutes. Your goal is to combine the two parts completely without whipping up too many air bubbles. Scrape the sides and bottom of the cup as you go to ensure every last bit is incorporated. The mixture will go from cloudy to crystal clear when it’s fully mixed.
Step 4: Add Your Creative Flair
Once mixed, you have a window of about 30-45 minutes to work with the resin before it starts to thicken and cure. Now is the time to stir in your mica powders for a pearlescent shimmer, a drop of pigment for bold color, or a sprinkle of glitter for some sparkle. A little goes a long way!
Step 5: The Perfect Pour
Carefully and slowly pour your colored resin into your chosen silicone mold. If you’re embedding objects like dried flowers, you can pour a thin base layer, place your object, and then pour the rest of the resin on top.
Step 6: Banish Those Bubbles
Tiny air bubbles are the nemesis of every resin artist. After pouring, you’ll see small bubbles rise to the surface. The easiest way to pop them is with a quick wave of a heat gun or a long-reach lighter a few inches above the surface. The heat thins the resin for a moment, allowing the bubbles to escape. Be quick—don’t overheat the resin or the mold!
Step 7: The Waiting Game (Curing)
Patience is a virtue in resin art. Cover your project with a box or container to protect it from dust and pet hair. Now, let it sit on a flat, level surface for about 24 hours. This is the curing time, where the chemical reaction does its work, hardening your piece completely.
Step 8: The Grand Reveal (Demolding)
This is the best part! After 24 hours, your piece should be hard to the touch. Gently flex the silicone mold to release the suction and pop out your beautiful, glossy creation. It’s an incredibly satisfying moment!
Easy & Inspiring Resin Craft Ideas for Beginners
Now that you know the process, what should you make? Start with simple projects to build your confidence. Here are a few resin craft ideas that are perfect for newcomers, along with suggestions for molds.
1. Dazzling DIY Coasters
Coasters are the ultimate beginner project. They have a large, flat surface that’s perfect for experimenting with colors and patterns. You can try a “dirty pour” by layering different colors in a cup and pouring it all at once, or create an ocean wave effect with blues, white, and a little heat. They are not only beautiful but also incredibly useful! Let’s Resin has a fantastic selection of perfect coaster molds in classic round, square, and trendy geode shapes.
2. Charming Keychains and Pendants
Making your own DIY jewelry and keychains is another fantastic starting point. The molds are small, so they use less resin, which is great for practice. Alphabet molds are hugely popular for creating personalized keychains with initials. You can also find beautiful gem and pendant molds to create unique necklaces. Embed a tiny dried flower from your garden or some shimmering gold flakes for an elegant, professional look. Find the perfect alphabet keychain molds and start crafting personalized gifts for everyone you know.
3. Preserve Memories in Resin
One of the most magical qualities of clear casting resin is its ability to preserve and display objects. Do you have a special seashell from a vacation, a ticket stub from a memorable concert, or beautiful flowers from your garden? You can immortalize them in a block of crystal-clear resin. Small paperweight molds are perfect for this. It’s a wonderful way to turn a memory into a tangible piece of art that you can keep on your desk forever.
Pro Tips for Flawless Let’sResin Creations
As you continue your journey, you’ll pick up tricks along the way. Here are a few clear casting resin tips to help you avoid common beginner frustrations:
- Tackling Bubbles: Remember, the best defense is a good offense. Warm your resin and hardener bottles in a warm water bath before mixing (make sure they’re tightly sealed!). This thins the liquid and helps prevent bubbles from forming in the first place. And always mix slowly!
- Avoiding Sticky Resin: If your project comes out tacky or bendy after 24 hours, the culprit is almost always an incorrect measurement ratio or insufficient mixing. Be a stickler for that 1:1 ratio and scrape those cup sides like you mean it.
- The Perfect Environment: Epoxy resin cures best in a warm, dry environment. Aim for a room temperature of 70-78°F (21-26°C). Cold temperatures can slow down or even stop the curing process.
Why Choose Let’s Resin for Your Creative Journey?
In a market full of art supplies, Let’s Resin has carved out a special place in the hearts of crafters, especially beginners.
Their commitment to quality is evident. Their formulas are engineered to be crystal clear, UV resistant (to prevent yellowing), and self-leveling, giving you that perfect glassy finish every time. They prioritize safety with low-odor, non-toxic products (when used as directed and fully cured).
But more than that, they understand the journey. They’ve built their entire brand around making this art form accessible. From their all-inclusive starter kits to their massive and imaginative library of resin molds for beginners, they provide a complete ecosystem for creativity. When you choose Let’s Resin, you’re not just buying a product; you’re joining a community and starting a beautiful, creative hobby with a trusted partner.
Are you feeling inspired? Is your mind buzzing with ideas for all the beautiful things you could create? That’s the magic of resin art. It unlocks a part of your creativity you may not have known you had.
Your adventure into this stunning craft is just a click away. We invite you to explore the full range of Let’s Resin products today. Grab your starter kit, and don’t forget to check out the incredible offers on our exclusive ProdyNest coupon page.
Happy crafting! ✨